
Roof Flashing Repair Hampshire
Roof Flashing Repair Services in Hampshire
Roof flashing is the material that seals the joints between the roof covering and elements such as chimneys, walls and skylights. When flashing splits or lifts, water can move behind the tiles and into the loft space — whether the work amounts to a half-day patch or a two-day chimney repair, addressing it promptly prevents the damage from spreading.
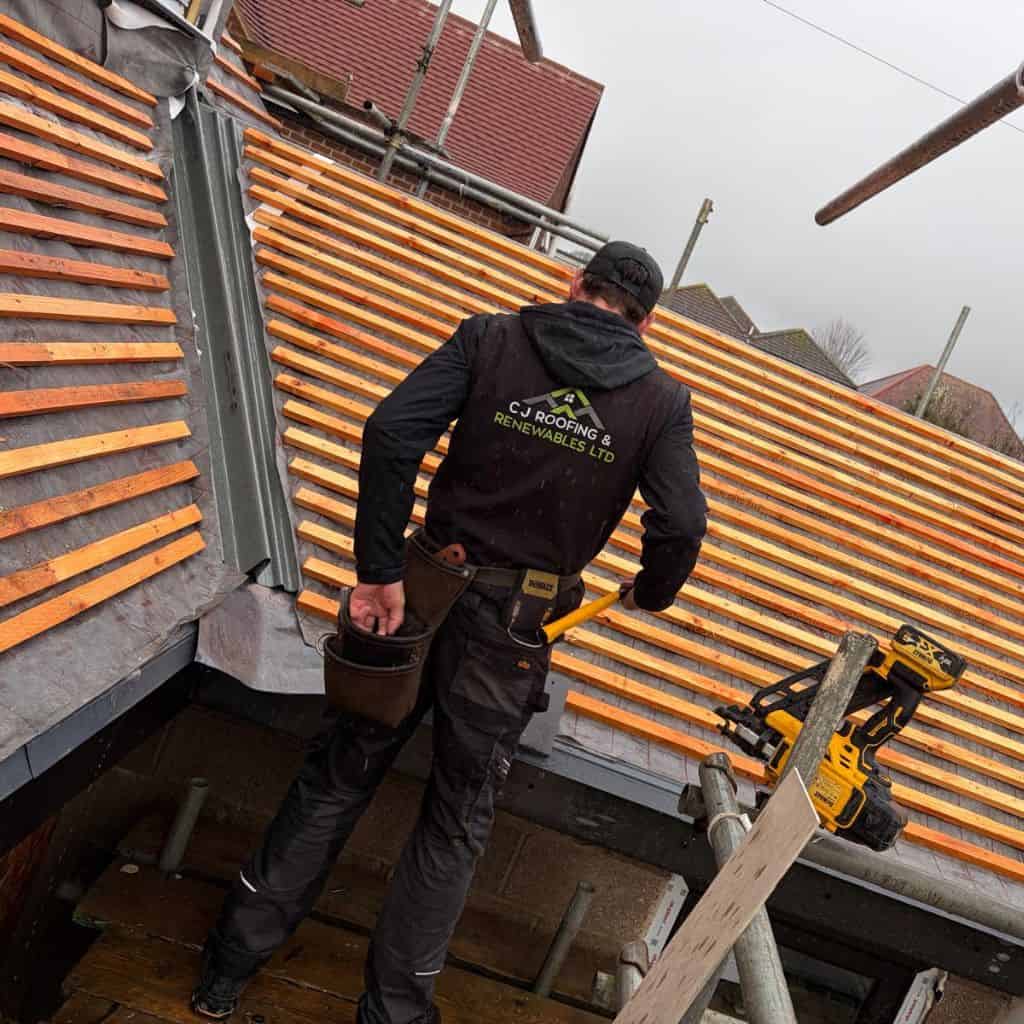
C J Roofing & Renewables Ltd specialises in roof flashing repair across Hampshire. We dress lead correctly, apply fresh mortar and seal aprons to ensure each joint remains watertight.
Call 02393873756 for a free quote. We respond within 48 hours.
What are the signs your roof flashing needs a repair?
Rust streaks, lifted edges, cracked sealant and damp patches on upper walls are all indications of flashing failure. Each of these signs points to water working its way behind the tiles, making prompt investigation worthwhile.
Common signs visible from the ground include:
Brown stains creeping down a chimney breast
Brown stains creeping down a chimney breast indicate that water is infiltrating through damaged flashing and travelling down the masonry. Pitched-roof leaks in Hampshire frequently trace back to faulty flashing rather than failed tiles, particularly in older properties where splits along lead fold lines are common.
Rust streaks, lifted edges, cracked sealant and damp patches on upper walls are all signs of flashing failure, each pointing to water intrusion behind the tiles.
Mortar crumbling where lead meets brickwork
Mortar crumbling at the junction between lead and brickwork shows that the pointing has degraded and the flashing is no longer properly sealed. Fitting new lead onto failing mortar can result in renewed leaks within a single season, which is why a thorough assessment of the substrate is essential before any flashing work begins.
Many chimneys in older Hampshire properties require pointing or partial rebuilding before new flashing can be installed on a sound base.
Green patina cracks visible on a clear day
Green patina cracks visible on a clear day indicate that the lead has developed fatigue cracking along its fold lines. Lead thickness is measured on every job, and replacement is required once the material shows widespread fatigue cracking or has thinned below 1.5mm.
Code 4 lead typically lasts 50 to 60 years on sheltered sites, though coastal exposure shortens that lifespan. Hampshire’s coastal salt air can accelerate oxidation, requiring lead replacement every 25 to 35 years in exposed locations.
Daylight at chimney base visible from the loft
Daylight visible at the chimney base from the loft confirms a gap in the flashing that is allowing light and water to enter. Checking loft timbers for water tide marks and watching for peeling wallpaper near upper ceilings can help to identify leaks at an early stage.
Water can infiltrate through splits in damaged flashing and soak plasterboard ceilings within hours. Early detection keeps repair costs contained and prevents further damage to plasterboard and joist sections.
Soft plaster around chimney breasts inside
Soft plaster around a chimney breast indicates that moisture has soaked through from flashing failure above. Damp can wick through timber and promote black mould growth, and wet insulation loses a significant proportion of its thermal value within days, increasing heat loss through the roof.
Leaving a slow drip unaddressed can lead to costly repairs to plasterboard and joist sections, so early investigation is worthwhile. If you notice any of these signs, contact us at 02393873756 to arrange a survey.
Which roof areas are prone to failure first?
Chimneys, abutments, dormer cheeks, roof valleys and skylight surrounds are the most common failure points. Wind can funnel rain into these junctions and thermal movement can gradually separate the lead from the masonry, often making flashing repair necessary.
Common trouble zones include:
- Chimney aprons and back gutters
- Dormer side cheeks and tops
- Lean-to abutments at the rear of the property
- Roof valleys with central lead trays
- Skylight upstands and parapet walls
Hampshire’s coastal salt air can accelerate oxidation, requiring lead replacement every 25 to 35 years in exposed locations. Inland Hampshire properties experience slower rates of wear.
What does our roof flashing repair process involve?
Our flashing repair process follows five stages: survey, preparation, fitting, patination and documentation. Each stage is recorded with photographs, giving you a transparent account from the initial inspection through to the final fix.
What we do on site:
Survey: ladder or drone scan of every junction, lead probe for cracks
We carry out a ladder or drone scan of every junction and use a lead probe to identify cracks. The inspection can reveal, for example, intact lead on the front elevation alongside split sheets at the rear chimney, allowing the repair to be targeted precisely without disturbing undamaged sections.
Brickwork is tapped for hollow sounds, timber is probed for rot, and valley boards are checked before any flashing is removed. Five checks are completed before the fix to ensure thorough preparation.
Preparation: cut fresh chases in brickwork, point failing mortar
We cut fresh chases in the brickwork and repair any failing mortar before the new flashing is fitted. Many chimneys in older Hampshire properties require pointing or partial rebuilding at this stage to give the new lead a solid base.
Fitting fresh lead onto crumbling mortar can result in renewed leaks within a season, which is why thorough preparation is essential. We provide photographs of every defect identified during this stage.
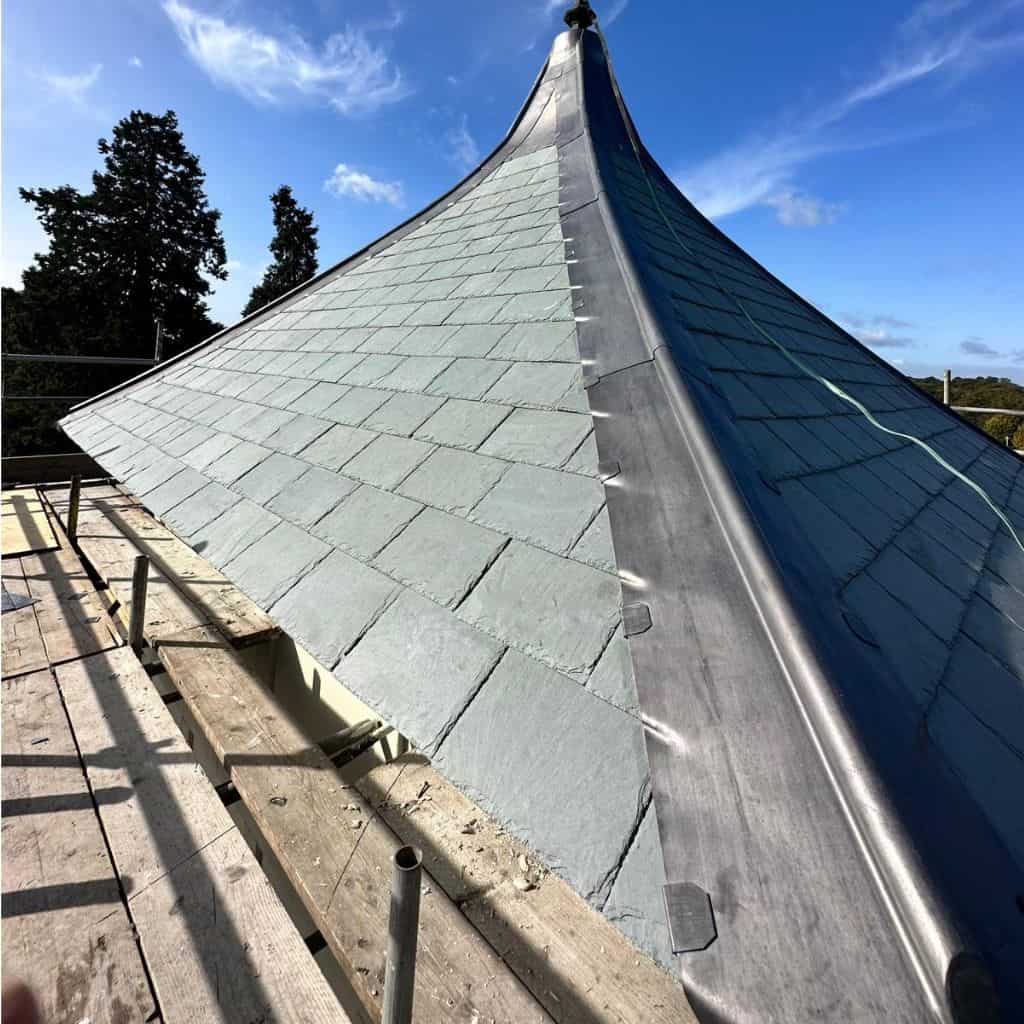
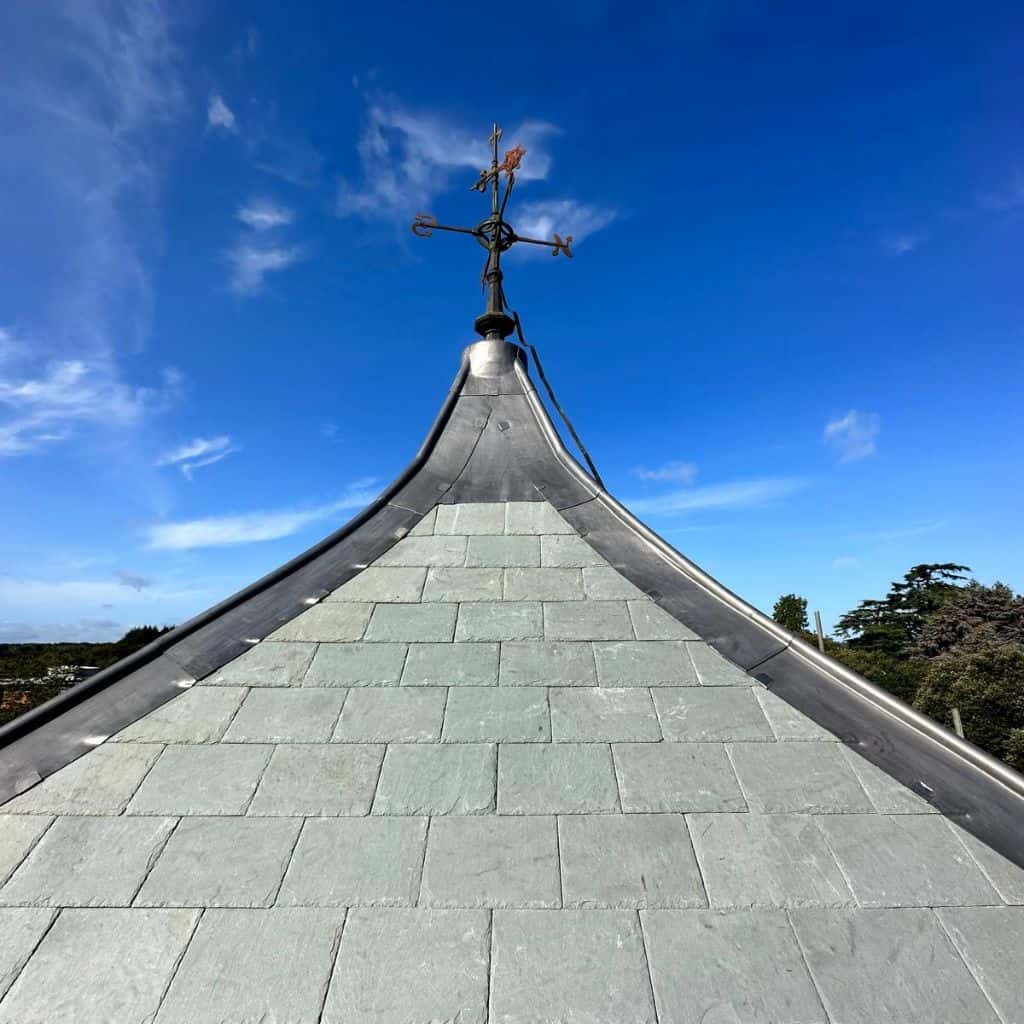
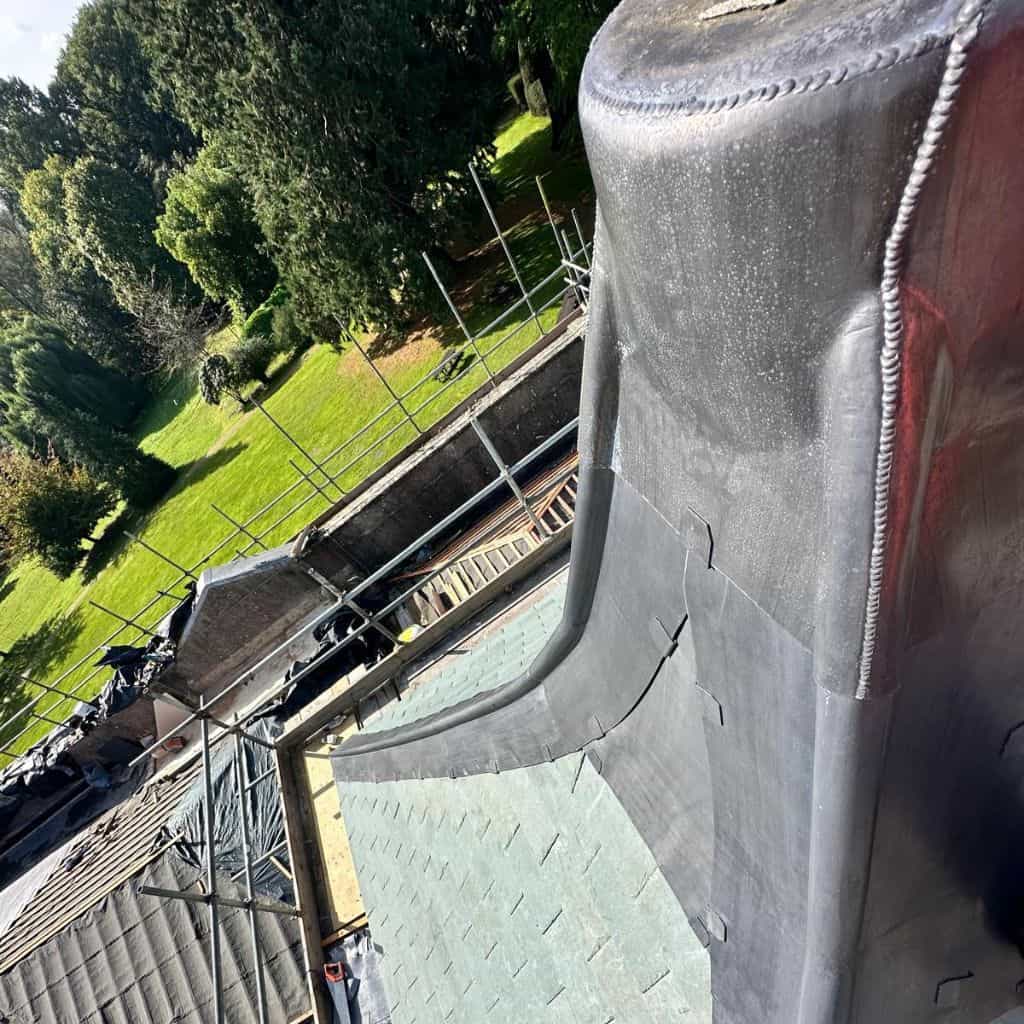
Fitting: dress Code 4 lead aprons, soakers and step flashings in 1.5m lengths
We dress Code 4 lead aprons, soakers and step flashings in 1.5m lengths to create a watertight seal at each junction. Fresh mortar is applied and aprons are sealed to ensure the joint performs reliably over the long term.
Bossed corners are formed rather than cut and overlapped, producing clean lines and a more durable finish.
Patination: brush patination oil within hours to prevent white streaks
Patination oil is applied within hours of the lead being laid to prevent white carbonate streaks from forming on the brickwork below. Fresh lead appears bright silver for the first six months before gradually weathering to the soft grey of the surrounding flashings within a year.
An additional patination coat is applied on coastal jobs to provide protection against acid rain and salt spray.
Documentation: photos of each stage, lead thickness measured, transparent record
Each stage is documented with photographs for your records, providing a clear and transparent account of the work carried out. Lead thickness is measured on every job, with Code 4 lead typically lasting 50 to 60 years on sheltered sites.
How does damaged flashing cause leaks and interior damage?
Water can infiltrate through splits in damaged flashing and soak plasterboard ceilings within hours. It travels along rafters before it drips, and a split the width of a pencil can allow 15 litres of water to enter during a stormy weekend.
Moisture wicks through timber and promotes black mould growth, while wet insulation loses a significant proportion of its thermal value within days, increasing heat loss through the structure.
Rising heating bills can be the first indication of a leak, as a wet Hampshire autumn prevents the loft from drying out between rain events.
Damaged flashing can also cause roof battens to rot, which weakens tile fixings and can start a progressive deterioration of the roof structure that calls for wider roof repair.
Leaving a slow drip unaddressed can lead to costly repairs to plasterboard and joist sections, making early detection the most cost-effective course of action.
When does flashing need replacing rather than repairing?
Replacement is necessary once lead shows widespread fatigue cracking or has thinned below 1.5mm. Repair is appropriate for isolated splits, lifted edges or failed mortar joints.
Four signs indicate that replacement is the right course:
- Lead older than 50 years
- Multiple fatigue cracks along fold lines
- Pinholes from acid run-off
- Mortar joints failing at three or more points
We recommend replacement when a quarter of a single run shows defects. Addressing three separate splits within two years rarely resolves the underlying issue, and replacing the full apron in a single visit is more efficient and more reliable. Scrap lead from the strip-out is sent to a licensed recycler.
Why Choose C J Roofing & Renewables Ltd for Roof Flashing Repair in Hampshire?
Over 15 years of experience
Connor and Jack bring over 15 years of combined hands-on roofing experience, delivering everything from small domestic repairs to large-scale commercial projects across Hampshire.

Locally based in Hampshire
Based in Portsmouth with deep local roots, we understand Hampshire’s homes, weather, and building styles - allowing us to deliver roofing work that’s built to last.
5-star rated service
We’re proud to be rated 5 stars on Google by our customers, reflecting the quality of our workmanship and our commitment to reliable, professional service.
Competent & highly trained team
Our team is fully trained and certified in asbestos awareness, working at height, and manual handling - ensuring every project is carried out safely and to industry standards.
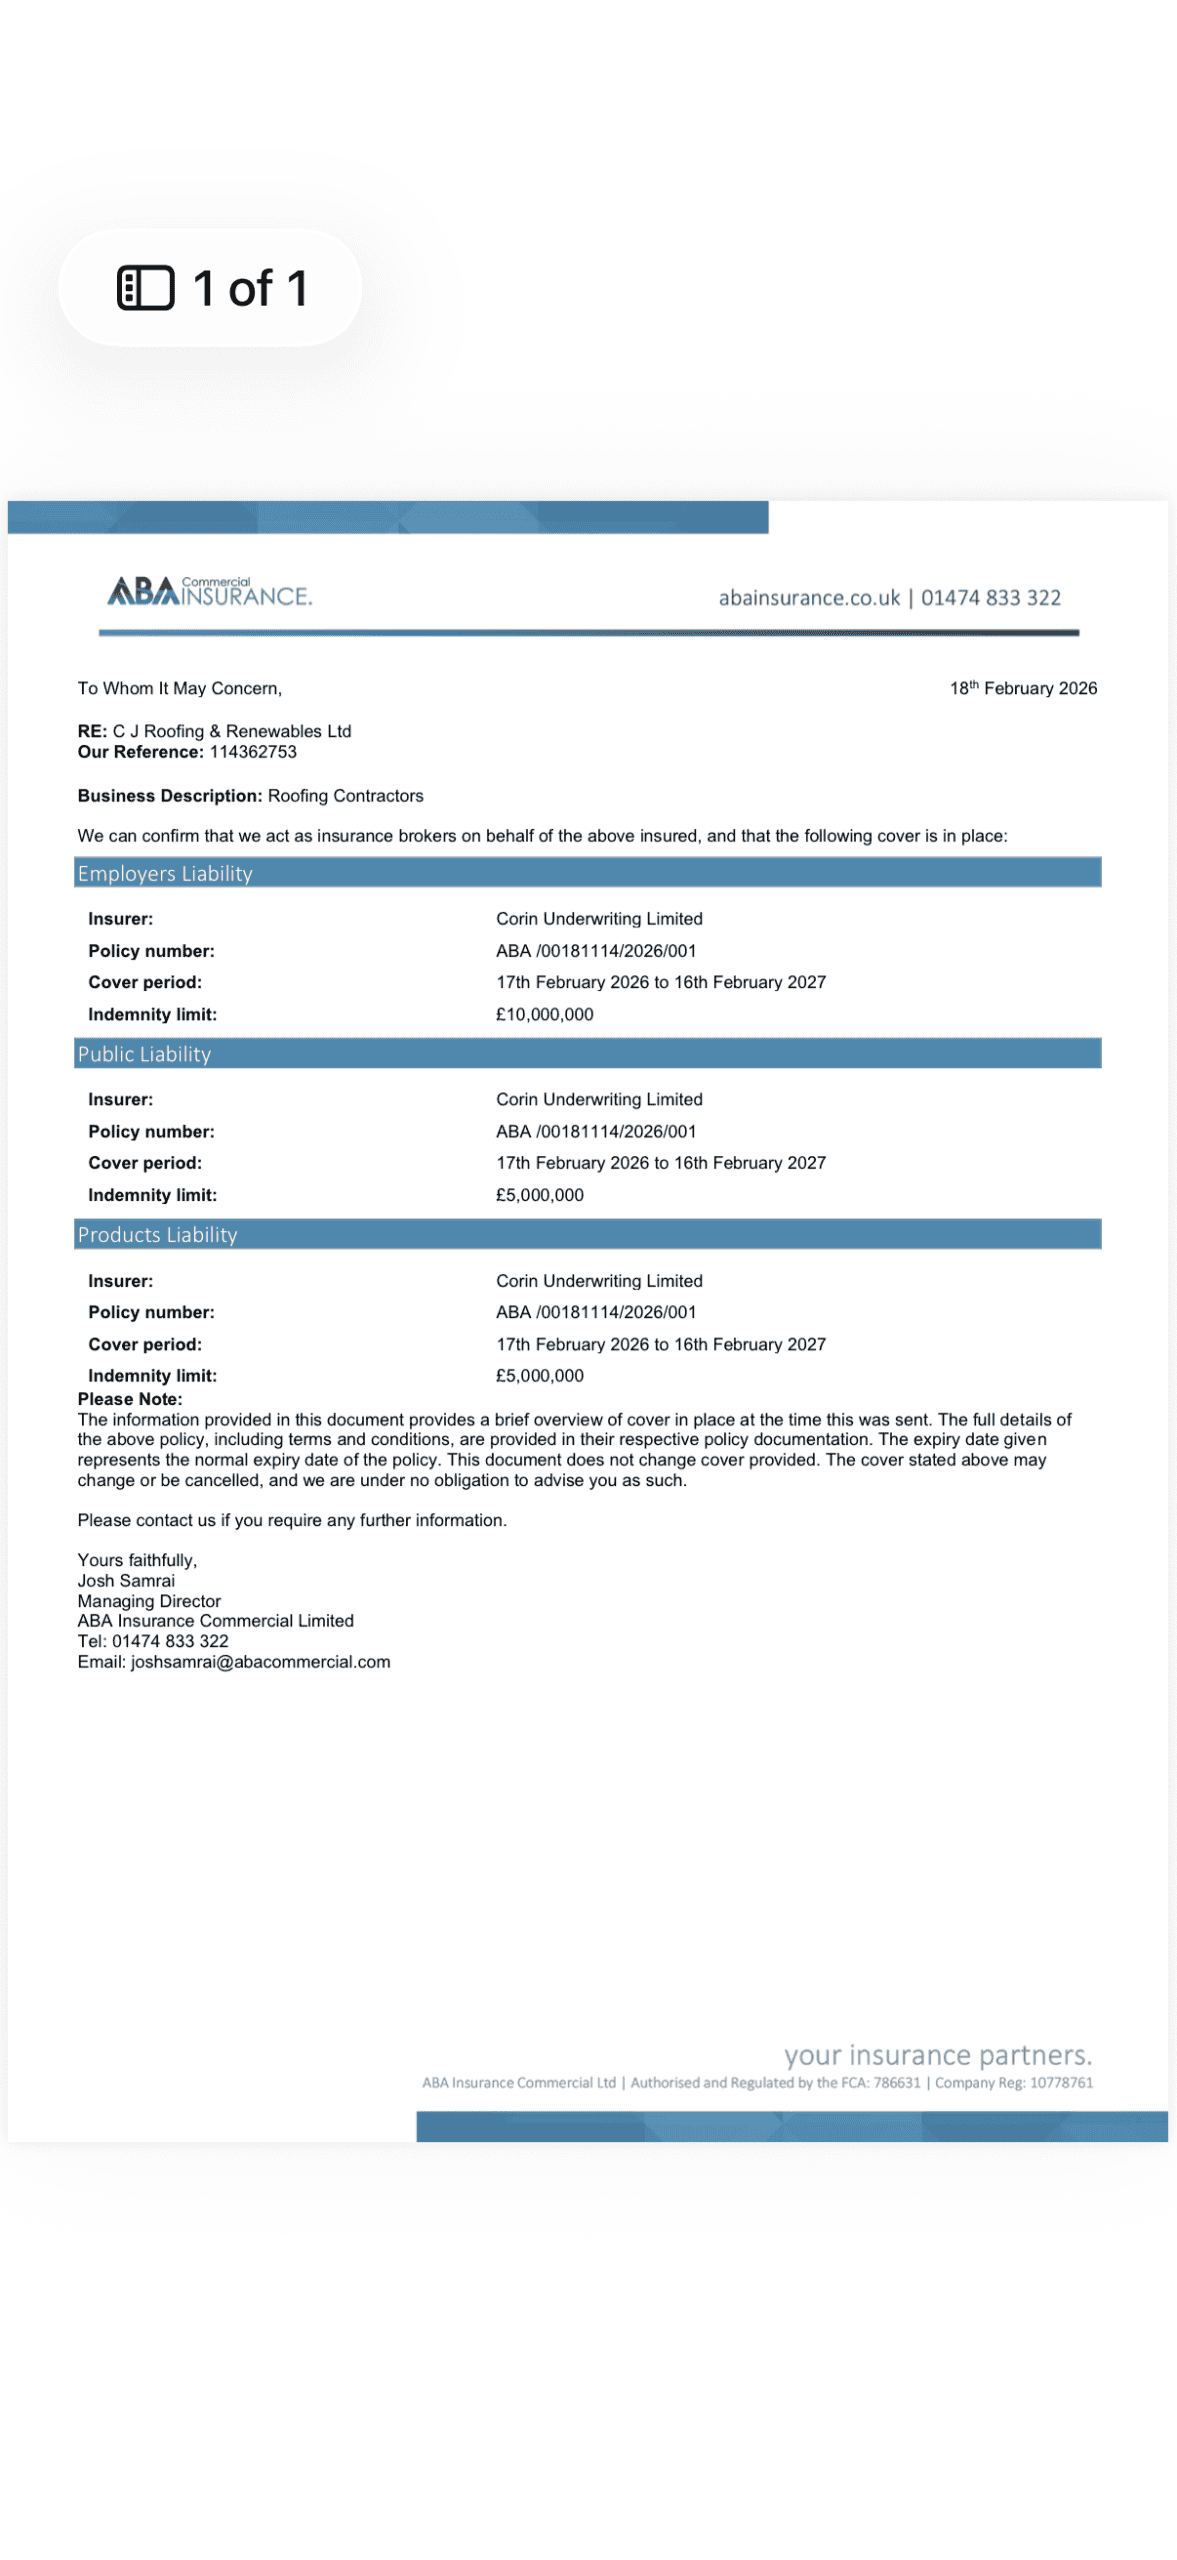
£5 million public liability insurance
We carry up to £5 million in public liability insurance, giving you complete peace of mind that your property is fully protected while we work.
10 year workmanship guarantee
All new roof installations and replacements come with a 10-year workmanship guarantee, so you’re covered in the unlikely event of any issues.


Frequently asked questions
Take a look at the Frequently Asked Questions regarding our Roof Flashing Repair service.
How does the repair affect ventilation and insulation?
A correctly executed repair maintains clear eaves vents and preserves the airflow gap within the roof structure. Loft insulation must not press against the rafter feet, and building regulations require a clear 25mm airflow path along the eaves.
A poorly executed dormer repair can block the ventilation path behind the fascia boards, leading to condensation and timber decay. We fit ventilated lead trays that allow airflow while shedding water.
Insulation is kept at least 50mm below the underlay, batts are trimmed back, eave baffles are refitted and breathable membranes are used at the abutment line.
On a loft conversion with inadequate dormer flashings, ventilation rates can drop sharply, resulting in damp patches in winter. The aim is dry timber, steady airflow and a warm interior.
What structural checks happen around chimneys, vents and valleys first?
Brickwork is tapped for hollow sounds, timber is probed for rot, and valley boards are checked for sag and damp staining before any flashing is removed. Many chimneys in older Hampshire properties require pointing or rebuilding before new lead can be installed.
Fitting fresh lead onto crumbling mortar can lead to renewed leaks within a season, making thorough structural checks an essential first step.
Five checks are completed before the repair begins:
- Brickwork tapped for hollow patches and loose mortar
- Timber probed for rot beneath suspect lead
- Valley boards checked for sag and damp staining
- Moisture meters used to map active leaks
- Vent collars inspected for cracks
How do you cover the roof if flashing is removed?
Self-adhesive bitumen patches, tarpaulins or temporary EPDM strips are used to cover exposed junctions whenever lead is removed during the job. A robust temporary seal can withstand wind-driven rain for up to 72 hours.
Sandbags, butyl tape and timber battens hold tarpaulins flat, and a chimney is covered with three layers of weatherproofing while mortar cures overnight.
How does the new lead match the rest of the roof?
Fresh lead appears bright silver for the first six months and gradually weathers to the soft grey of the surrounding flashings within a year. Applying patination oil promptly prevents white carbonate streaks from forming on the brickwork below.
A uniform code-weight of lead is used across the roof to avoid a patchy appearance.
An additional patination coat is applied on coastal jobs to guard against acid rain and salt spray.
Bossed corners are formed rather than cut and overlapped, producing clean lines and ensuring the finished flashing sits neatly within the roofline.
Who handles scaffold, access and neighbour notices?
We manage scaffold and access arrangements for every flashing repair; you are responsible for notifying neighbours in advance. A standard repair on a two-storey property requires scaffold on at least one elevation, and scaffold typically remains in place for around a week on chimney jobs.
A Party Wall notice is filed where work involves a shared chimney stack. For a typical chimney job, scaffold is erected at the start of the week, the flashing is completed mid-week and the scaffold is removed by the end of the week.