
Chimney Flashing Repair Hampshire
Chimney Flashing Repair Services in Hampshire
Chimney flashing is the material that seals the joint between the chimney stack and the roof covering. When the lead lifts or the mortar cracks, water can seep directly into the chimney breast, and the situation requires prompt attention. A correctly installed flashing, properly chased and dressed, will withstand coastal salt and wind-driven rain while maintaining a dry, secure joint.
C J Roofing & Renewables Ltd specialises in chimney flashing repair across Hampshire. We remove the worn lead, cut fresh code 4 or code 5 sheets, and dress them tightly to the stack. All new installations are backed by a 10-year workmanship guarantee.
Call 02393873756 for a free site visit. We respond within 48 hours.
What are the signs your chimney flashing is failing?
Damp patches on the ceiling, tide marks on the chimney breast, and lifted lead are all indicators of failing flashing. Each signal suggests that water is bypassing the joint between the stack and the roof.
Common signs include:
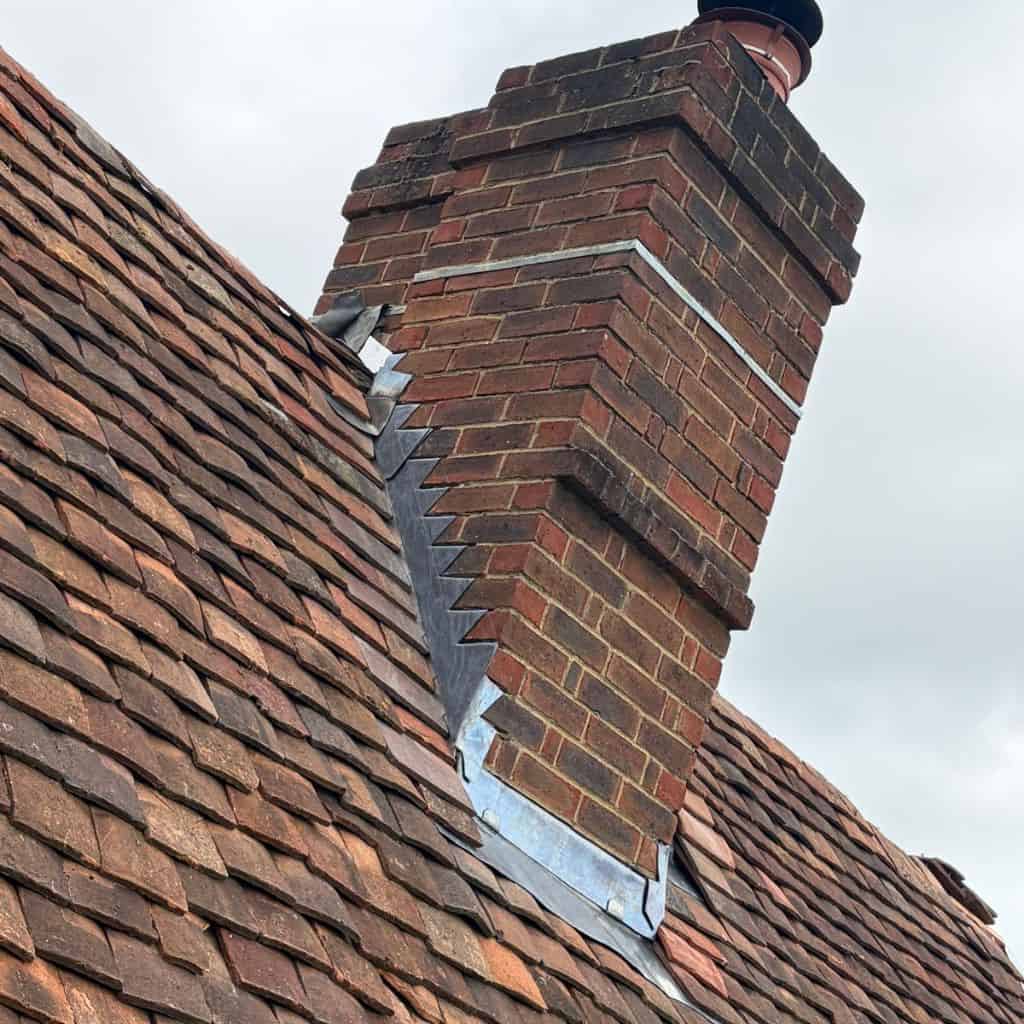
Pulled-out lead wedges sitting proud of the mortar bed
Lead wedges are used to secure the flashing into the mortar joint, known as the reglet. When these wedges begin to work loose, they can protrude outward, leaving the lead unsecured. This typically occurs through repeated thermal movement, as the lead expands in warmer temperatures and contracts in cooler ones, gradually loosening its fixings.
Once the wedges lift, gaps form behind the flashing, allowing rainwater to track directly into the chimney structure. This is particularly common on older installations or where the lead has been inadequately fixed. If left unresolved, the entire flashing run can begin to detach, resulting in more extensive water ingress.
Cracked cement fillets along the brickwork joint
Cement fillets are sometimes used in place of properly chased lead flashing, particularly on older or lower-quality repairs. Over time, these fillets become brittle and crack as a result of weather exposure, building movement, and freeze-thaw cycles.
Cracks in the fillet create direct pathways for water to penetrate behind the flashing. Unlike lead, cement does not accommodate movement well, so once cracking begins it tends to worsen quickly. This type of failure is often an early indication that a more durable lead-based solution is required.
Daylight visible through gaps between apron and slates
If daylight is visible between the lead apron and the roof slates or tiles, the flashing is no longer sitting flush with the roof surface. This may be due to poor original installation, lead fatigue, or movement within the roof structure.
Even small gaps allow wind-driven rain to be forced underneath the flashing. In exposed areas of Hampshire, this can lead to leaks within the loft space relatively quickly. The issue is often more apparent during inspections from inside the loft, particularly after rainfall.
Rust streaks running down the brickwork below the stack
Rust staining on the chimney breast or external brickwork is usually caused by corroding metal fixings or failing flashing components. As water enters through compromised flashing, it can react with nails, clips, or adjacent materials and produce visible streaks down the masonry.
These stains are more than cosmetic; they indicate ongoing moisture penetration. Over time, sustained damp can weaken the surrounding masonry and contribute to internal dampness. Rust marks are often a sign that the flashing system has been compromised for some considerable period.
Heavy moss along the upper edge of the skirt
Moss growth along the top edge of the flashing skirt suggests that moisture is consistently being retained in that area. This occurs when water is not shedding properly due to lifted or uneven lead.
The presence of moss indicates prolonged damp conditions, which can accelerate the deterioration of both the flashing and the adjacent roofing materials. It may also point to poor drainage or inadequate detailing at the junction. Left untreated, this can contribute to further lifting of the flashing and increased water ingress.
A torchlight inspection in the loft after rain can reveal early signs of failure, and wet rafters near the stack confirm that water is entering the structure.
If you notice any of these signs on your stack, call us at 02393873756 for a free survey.
Why does chimney flashing leak or separate from the chimney?
Chimney flashing fails through lead fatigue, mortar shrinkage, and damage from environmental factors. Each of these conditions creates a path for water ingress at the joint between stack and roof.
The heat from an active flue expands the lead apron, while cooler night air causes it to contract, placing stress on the joint over time. South-facing chimneys are more susceptible to this cycle, as prolonged UV exposure dries out the surrounding mortar. On older properties, lead is often nailed directly to the brick rather than set into a chased reglet, which provides a less secure fixing.
Wind-driven rain can push water under any lifted edges, and physical impacts from birds can dent and displace the flashing. Over time, cement-mortar fillets crack, allowing water to penetrate behind the apron and into the roof structure.
What does our chimney flashing repair process involve?
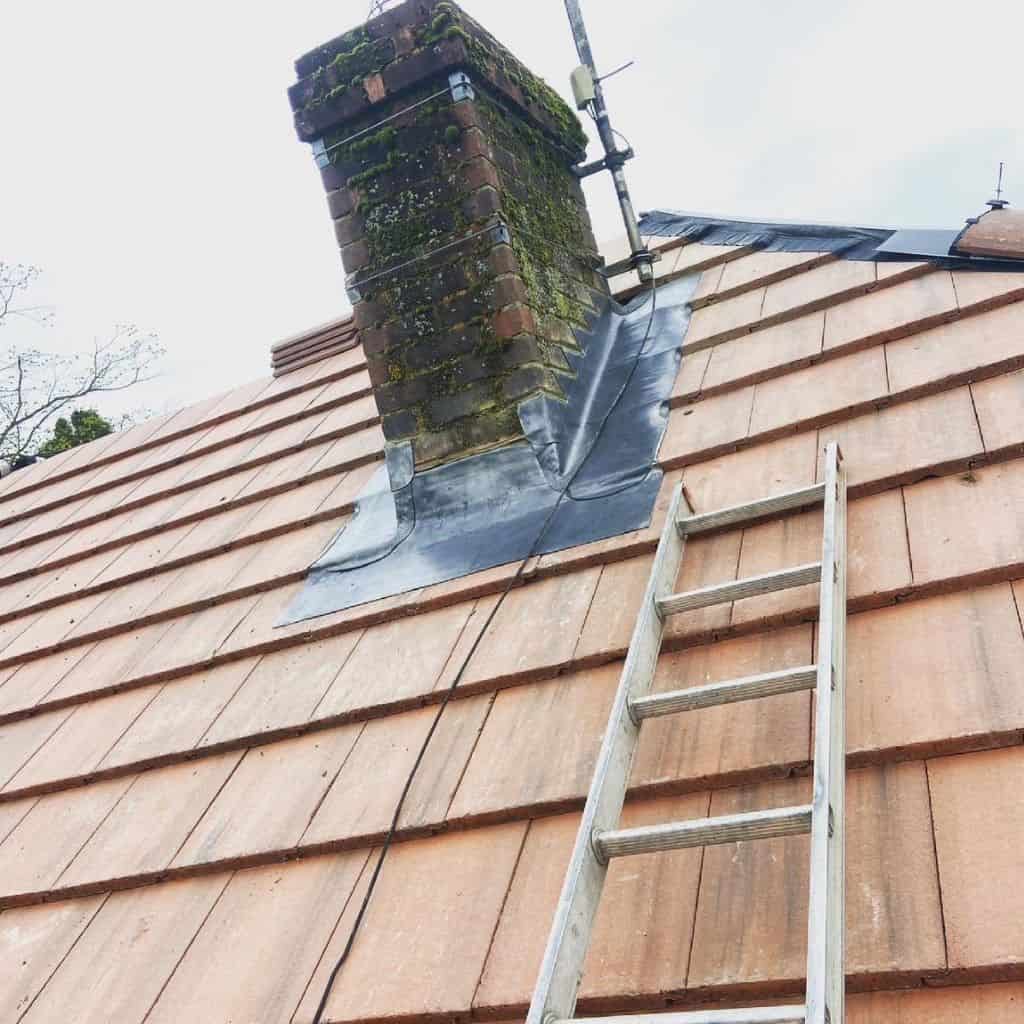
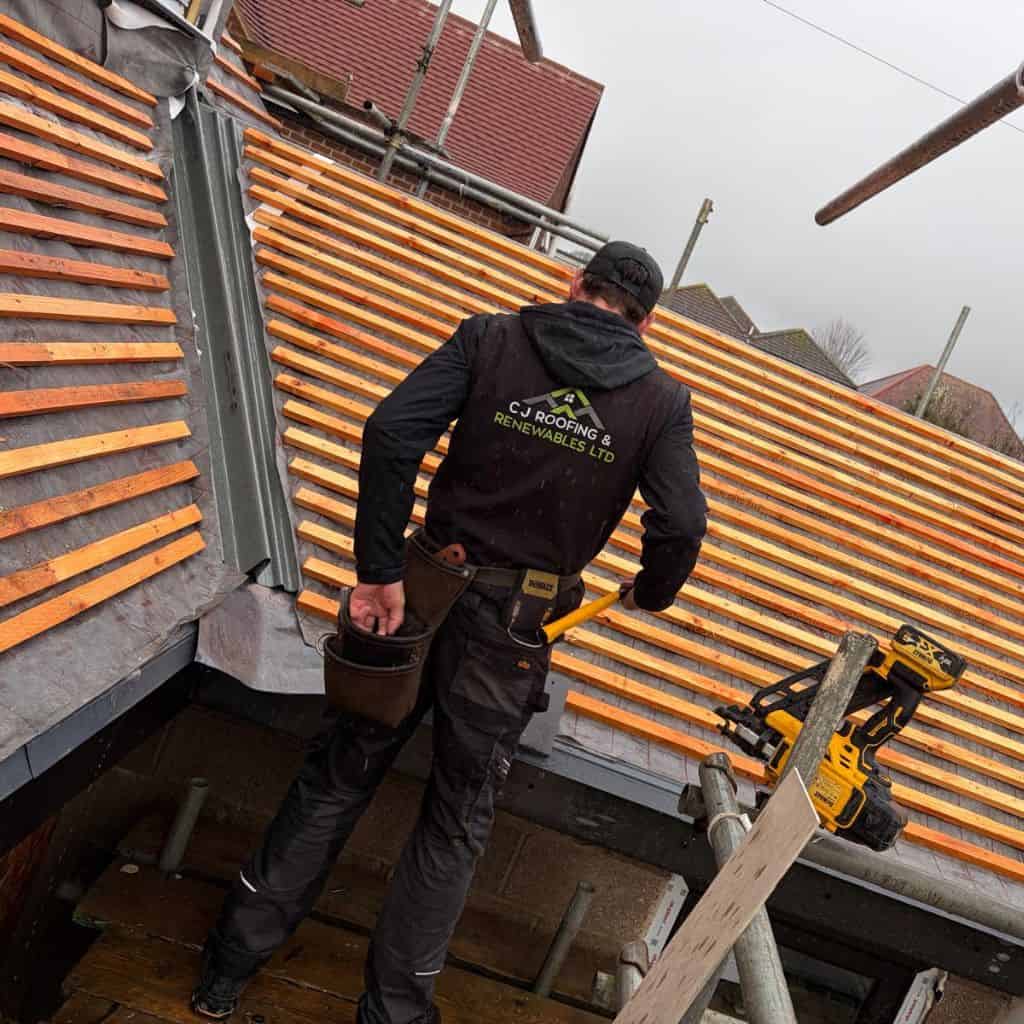
Our chimney flashing repair process covers five stages: stripping, chasing, dressing, wedging, and finishing. Each project begins with a photograph of the original installation taken from above, so you have a clear record of the condition before work starts.
Our site process includes:
Strip: Remove all old lead and failed cement fillets
We begin by carefully stripping out all existing flashing materials, including worn lead sheets and any cracked or failed cement fillets. This step ensures that no compromised material remains that could affect the performance of the new installation.
Old lead is frequently fatigued, split, or incorrectly dressed, while cement fillets may conceal hairline cracks that permit water ingress. By removing everything back to a clean base, we create the right starting point for a lasting repair rather than layering over previous defects.
Chase: Cut a fresh reglet into the mortar joint using a diamond blade
A new reglet is cut into the chimney’s mortar joint using a precision diamond blade. This allows the lead flashing to be inserted securely into the brickwork rather than simply fixed to the surface.
Chasing into the mortar provides a far more durable and weather-resistant detail. It protects the top edge of the flashing from wind lift and prevents water from tracking behind the lead — a common failure point in older or poorly executed installations.
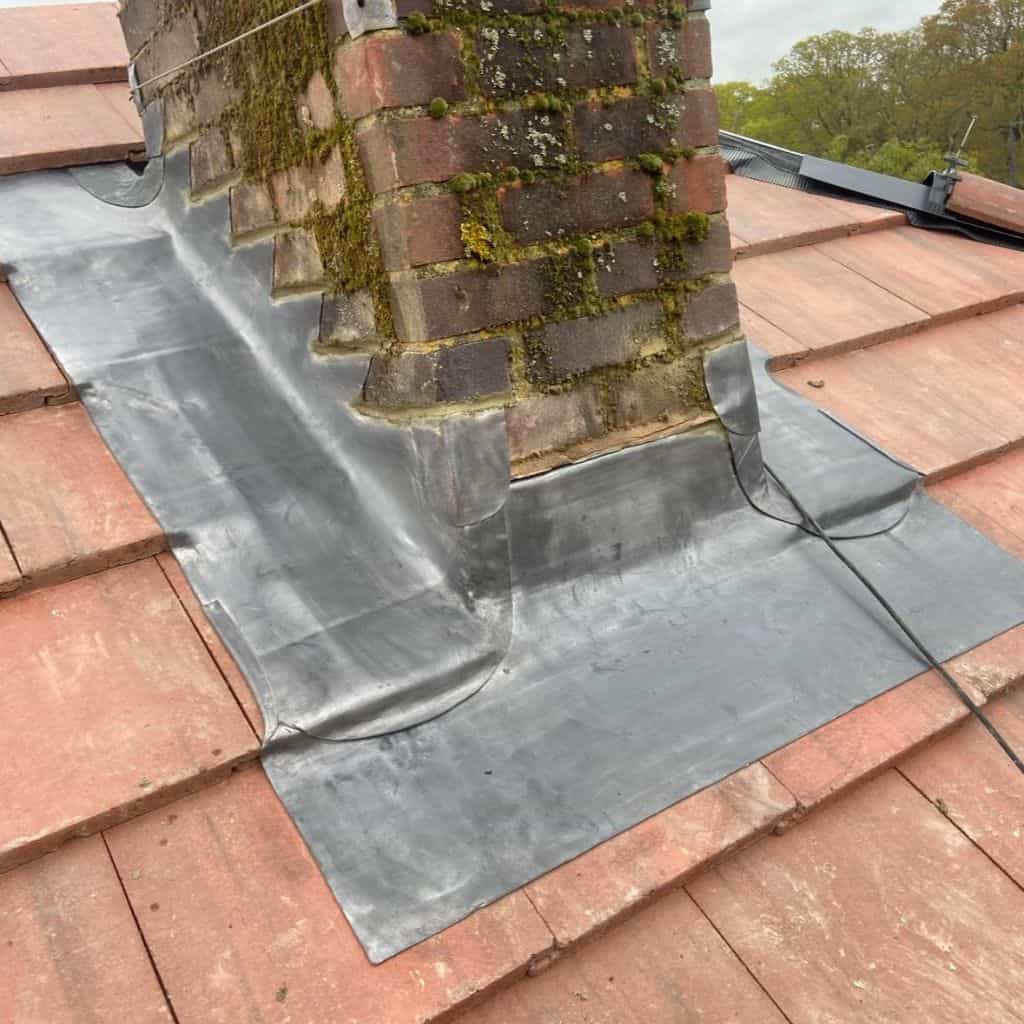
Dress: Shape new code 4 or code 5 lead in short bays according to the lead code
New lead sheets are cut and shaped to suit the chimney, using code 4 or code 5 lead depending on the area being covered. The lead is dressed carefully over the tiles or slates to ensure a tight, weatherproof fit.
We form the lead in short bays rather than long continuous runs. This accommodates natural thermal movement, reducing the risk of splitting or distortion over time. Each section is shaped to follow the contours of the roof, ensuring effective water runoff.
Wedge: Secure each chase with rolled lead wedges at regular intervals
Once the lead is positioned, it is secured into the reglet using rolled lead wedges placed at consistent intervals. These wedges hold the flashing firmly in place within the mortar joint.
Correct wedging is essential for long-term stability. It prevents the lead from loosening through expansion and contraction, and ensures the flashing remains tight against the chimney even under exposure to strong winds and driving rain.
Finish: Point the reglet flush and apply patination oil to the lead
The final stage involves pointing the reglet with a suitable mortar to seal the joint flush with the brickwork. This creates a neat, watertight finish that locks the flashing securely in place.
We also apply patination oil to the surface of the lead. This controls oxidation, preventing unsightly white staining on surrounding materials and extending the working life of the lead. The result is a clean, durable finish designed to perform reliably in demanding weather conditions.
What does a proper flashing inspection cover?
We manually lift each lead section to check for movement. Loose wedges indicate that a full re-bed is required, and we measure lead code thickness using a gauge to confirm the material is appropriate for the application.
Post-war chimneys often conceal code 3 lead installed during rapid re-roofing programmes, which deteriorates more quickly than the higher codes required on sun-exposed stacks. Where code 3 is found, we replace it with code 4 on side runs and code 5 on aprons and back gutters.
Our inspection report distinguishes between urgent and routine work, categorising issues such as torn back gutters or missing apron sections as urgent, and minor fillet cracks as routine maintenance items.
Why does prompt flashing repair prevent bigger damage?
Prompt chimney flashing repair prevents extensive damage by keeping water away from the roof timbers. When the apron is shedding water correctly, the loft remains dry and the structure beneath is protected.
Left unchecked, water damage can spread rapidly within a chimney breast wall. Moisture wicks through brickwork, soaking bedroom plaster, lifting wallpaper, swelling skirting boards, and reducing the thermal performance of insulation.
Hampshire’s climate can accelerate this deterioration. Wind-driven rain, salt-laden air, and freeze-thaw cycles can exhaust lead within a decade, and mortar joints are susceptible to the same pressures.
Code 4 and code 5 lead withstand these conditions well. We weld corners to prevent wind-driven rain from penetrating soldered seams, and finish each installation with patination oil to prevent the white carbonate staining that is sometimes mistaken for material failure. Where the damage extends beyond the lead, a wider chimney repair may be the better course.
Why Choose C J Roofing & Renewables Ltd for Chimney Flashing Repair in Hampshire?
Over 15 years of experience
Connor and Jack bring over 15 years of combined hands-on roofing experience, delivering everything from small domestic repairs to large-scale commercial projects across Hampshire.

Locally based in Hampshire
Based in Portsmouth with deep local roots, we understand Hampshire’s homes, weather, and building styles - allowing us to deliver roofing work that’s built to last.
5-star rated service
We’re proud to be rated 5 stars on Google by our customers, reflecting the quality of our workmanship and our commitment to reliable, professional service.
Competent & highly trained team
Our team is fully trained and certified in asbestos awareness, working at height, and manual handling - ensuring every project is carried out safely and to industry standards.
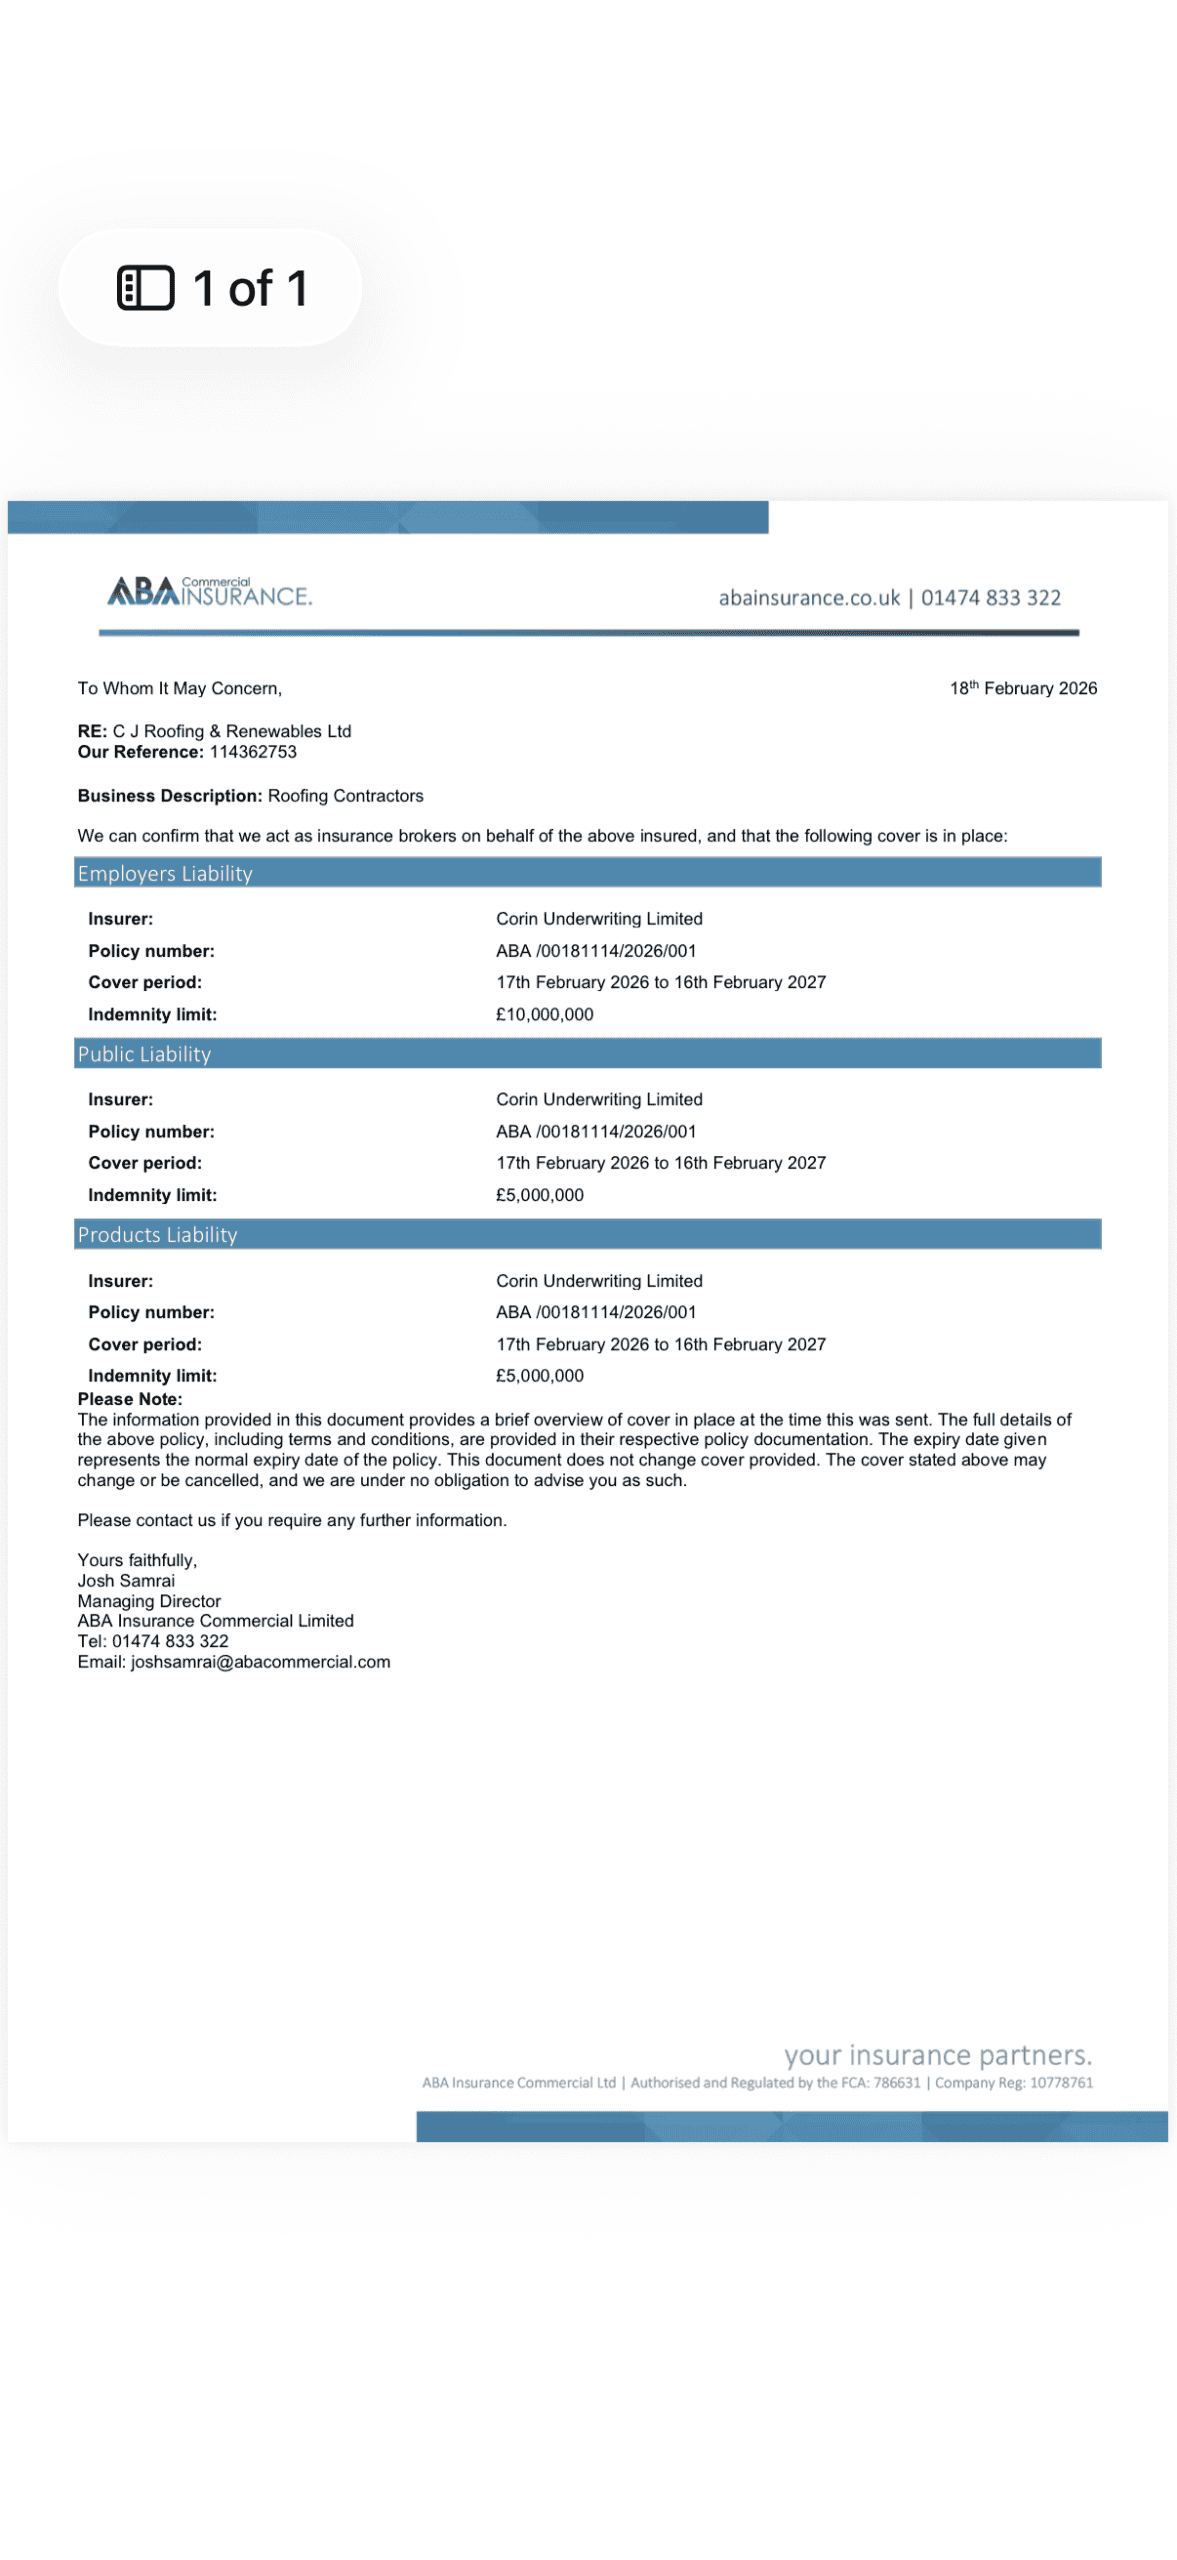
£5 million public liability insurance
We carry up to £5 million in public liability insurance, giving you complete peace of mind that your property is fully protected while we work.
10 year workmanship guarantee
All new roof installations and replacements come with a 10-year workmanship guarantee, so you’re covered in the unlikely event of any issues.


Frequently asked questions
Take a look at the Frequently Asked Questions regarding our Chimney Flashing Repair service.
What lead grade do you fit on Hampshire chimneys?
We fit code 4 lead on side flashings and code 5 lead on aprons and back gutters. Each code corresponds to a specified lead weight per square metre under BS EN 12588.
Coastal chimneys benefit from code 5 throughout, as salt-laden air can corrode lighter materials more quickly. Post-war re-roofs carried out with code 3 lead sit at the lower end of the durability scale and tend to require replacement sooner.
Lead-replacement products often have shorter service lives, whereas correctly specified and installed rolled lead can last for several decades. We prefer rolled lead for all permanent repairs.
How long does a chimney flashing repair take?
A standard chimney flashing repair can typically be completed within one to two days. A small fillet repair on a single side flashing can usually be completed within a day, while a full re-dress involving new aprons, soakers, and back gutters may require additional time.
How do you handle flashings on coastal homes?
We approach coastal flashings using code 5 lead throughout, with welded corners and patination oil applied on completion. Hampshire’s coastline falls within the recognised salt exposure zone, which demands a more robust specification.
Salt can corrode copper nails and degrade the protective oxide layer on rolled lead, while galvanised covers in coastal areas are susceptible to accelerated rusting. Code 5 lead, correctly maintained, can last for decades in these conditions.
We finish each coastal installation with patination oil to prevent white carbonate staining on the slates below. A fresh water rinse following severe weather can further extend the working life of the lead.
Does flashing repair affect home insurance?
Yes. A completed flashing repair provides a dated record confirming that the stack is in sound condition. Insurers generally treat slow water ingress as a maintenance issue, whereas storm damage to properly maintained flashing may fall within accidental damage cover.
A loss adjuster examining old staining alongside decade-old lead may conclude the damage is attributable to wear and tear. A recent repair receipt supported by our photographs clearly distinguishes the position before and after the work was carried out.
Building surveyors preparing pre-purchase reports frequently flag flashing defects under Condition Rating 2 or 3. A documented repair can clear that rating ahead of a sale.
Can you bundle flashing repair with other roof work?
Yes. We regularly combine flashing repair with repointing, pot fitting, slate replacement and roof flashing repair under a single scaffold. Many homeowners across Hampshire choose to consolidate lead replacement with pot repointing and new cap fitting, making the most of one access setup and reducing overall disruption.